Learn Legionella Ready
A whole school put into Legionella Ready, film by film.
Eleven short films, 46 minutes in all, show Oakfield School being set up in the app: its floors and rooms, its plant, and every outlet connected. By the end you can do the same for your own building.
Oakfield School is invented. We made it up so that nothing in the films would have to be blurred or left out. Every room, pipe and tap is there to be seen.
11 films · 46 minutes · Captions and a written transcript on every film · Free to watch
Film 3 of 11 · Connecting room outlets
Connect the first room
Begin with the plant and building map already recorded. Connect the shared supplies and the cleaner’s sink.

In this film
Choose a chapter to watch from that point.
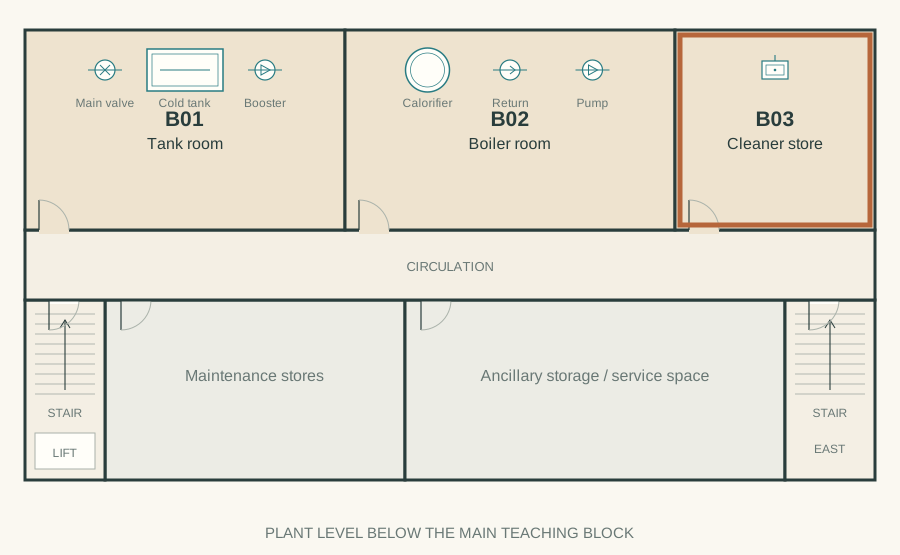
Where this film is on the plan
Rooms in this film: B03.
Before you begin and what you’ll learn
Oakfield School’s rooms and main plant are already entered. This series begins the work of connecting its outlets.
- Find the saved room and open its water supply.
- Link the school’s shared supplies to the recorded plant.
- Connect the cleaner’s sink to hot and cold water.
Read the commentary Timed transcript +
This is Oakfield School, our worked example in Legionella Ready. We have already recorded the building and its main water equipment. In this lesson, we will connect the cleaner’s sink, starting in its room and finishing with a saved diagram of its supplies.
Open the lower ground floor and select Cleaner store B03. Then select the cleaner’s sink. We are using the equipment record already held in this room.
Choose Show water supply. This opens the water-system schematic. The plant from the previous lesson is already saved. The next task is to describe how water reaches the rooms.
First, choose Add a room group. We will name it School hot and cold supplies. In this example, the internal rooms share these supplies. The group organises those rooms; it does not make their individual connections for us.
On the lower ground floor, select only the cleaner store. The two plant rooms remain outside this group because they contain the equipment supplying it.
Now include the rooms on the ground, first and second floors. The outside taps will be handled separately. Before saving, check that the group contains the 24 internal rooms with outlets.
Save the room group and return to the plant and distribution view. The new group is now available in the diagram. We will give it three connections: a cold supply, a hot supply and a hot-water return.
Select the school group, then choose What does this connect to. Set the direction to Receives water from. This direction matters: we are describing water arriving at the group.
For Water or circuit, choose cold water. For Connected equipment, choose the booster set. The form now describes the cold supply from the booster to the school group.
Add a short note explaining that this is an assumed route for our teaching example, then add the connection. Its status remains unconfirmed. Close the details to continue.
Add the hot supply in the same way. The direction is Receives water from, the circuit is hot water, and the source is the hot-water cylinder, or calorifier. Add the example note and save this separate connection.
The return runs in the other direction. Start from the school group and choose Supplies, then the return circuit and the hot-water return point. Add the note and save. We have now recorded the group’s cold supply, hot supply and return.
We can now work on the cleaner’s sink itself. Choose Cleaner store B03 in Schematic view. Open Repeat a room, then choose Build this room myself. This brings the existing sink into the diagram without adding its supplies.
Select the cleaner’s sink and open What does this connect to. Choose Receives water from, cold water, and School hot and cold supplies. Add the example note, then add the connection. Water is travelling from the group towards the sink.
Now add its hot feed. Keep the direction as Receives water from, choose hot water, and use the same school group. Add the note and save. These are two separate supply connections to one existing outlet.
Return to the whole view. Follow the cold and hot connections towards the cleaner’s sink. The diagram now relates this room’s outlet to the shared supplies and the upstream plant.
Save the schematic, then reload the saved version. Open the cleaner store again and check that both connections are present. This confirms that the work is stored in the school record.
The first room is complete. We have kept its existing equipment record, added its two supplies and checked the saved result. In the next lesson, we will use these supplies to connect the kitchen, staff room and first-aid room.
The school
We drew the school so the films can be followed.
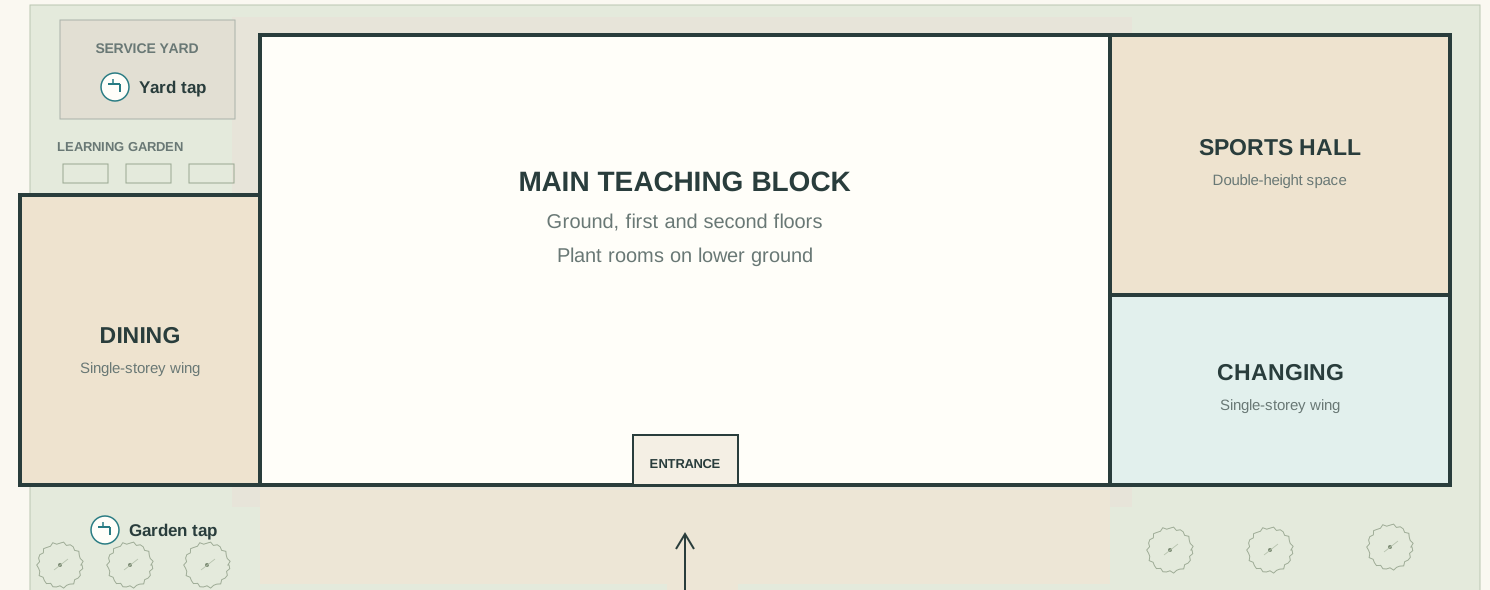
Oakfield has a front, five floors and a code on every room. Each room in the films is on a plan, so you can see where you are before you press play.
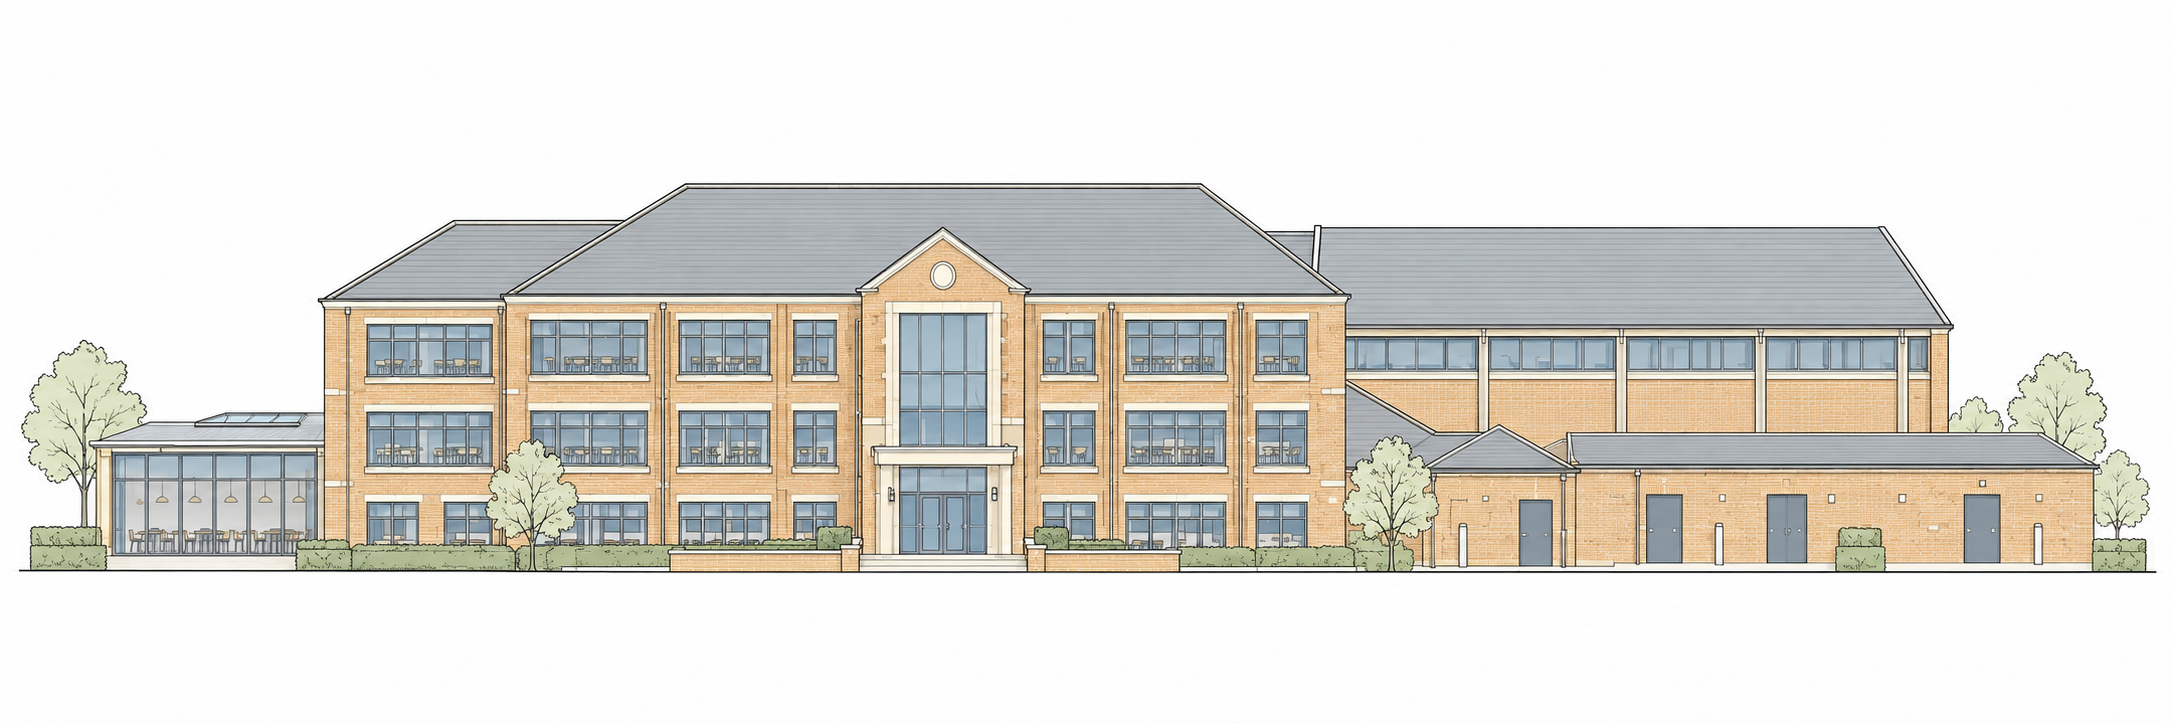
Main entrance, teaching block, dining wing, sports hall and outside taps.
The same for your building
Your rooms, your equipment, your procedures, on film.
The Oakfield films were made by recording the app as the school was built. The same can be done for a real building once it is in Legionella Ready, so your staff learn on the rooms they actually walk through.
What you give us
- Your floor plans, or a walk round the building
- The name of every room with water in it
- The procedures your staff are expected to follow
What you get
- Your building set up in Legionella Ready, floor by floor
- Films of it being built, chapter by chapter, that your staff can return to
- A building record that already exists on the day you start